3.1. Opening a Jupyter Notebook#
When you first log in to your Jupyter Notebook environment, you’ll be presented with a screen that shows both the contents of your personal directory on the DataHub server and your current working area. It should look like the image below.
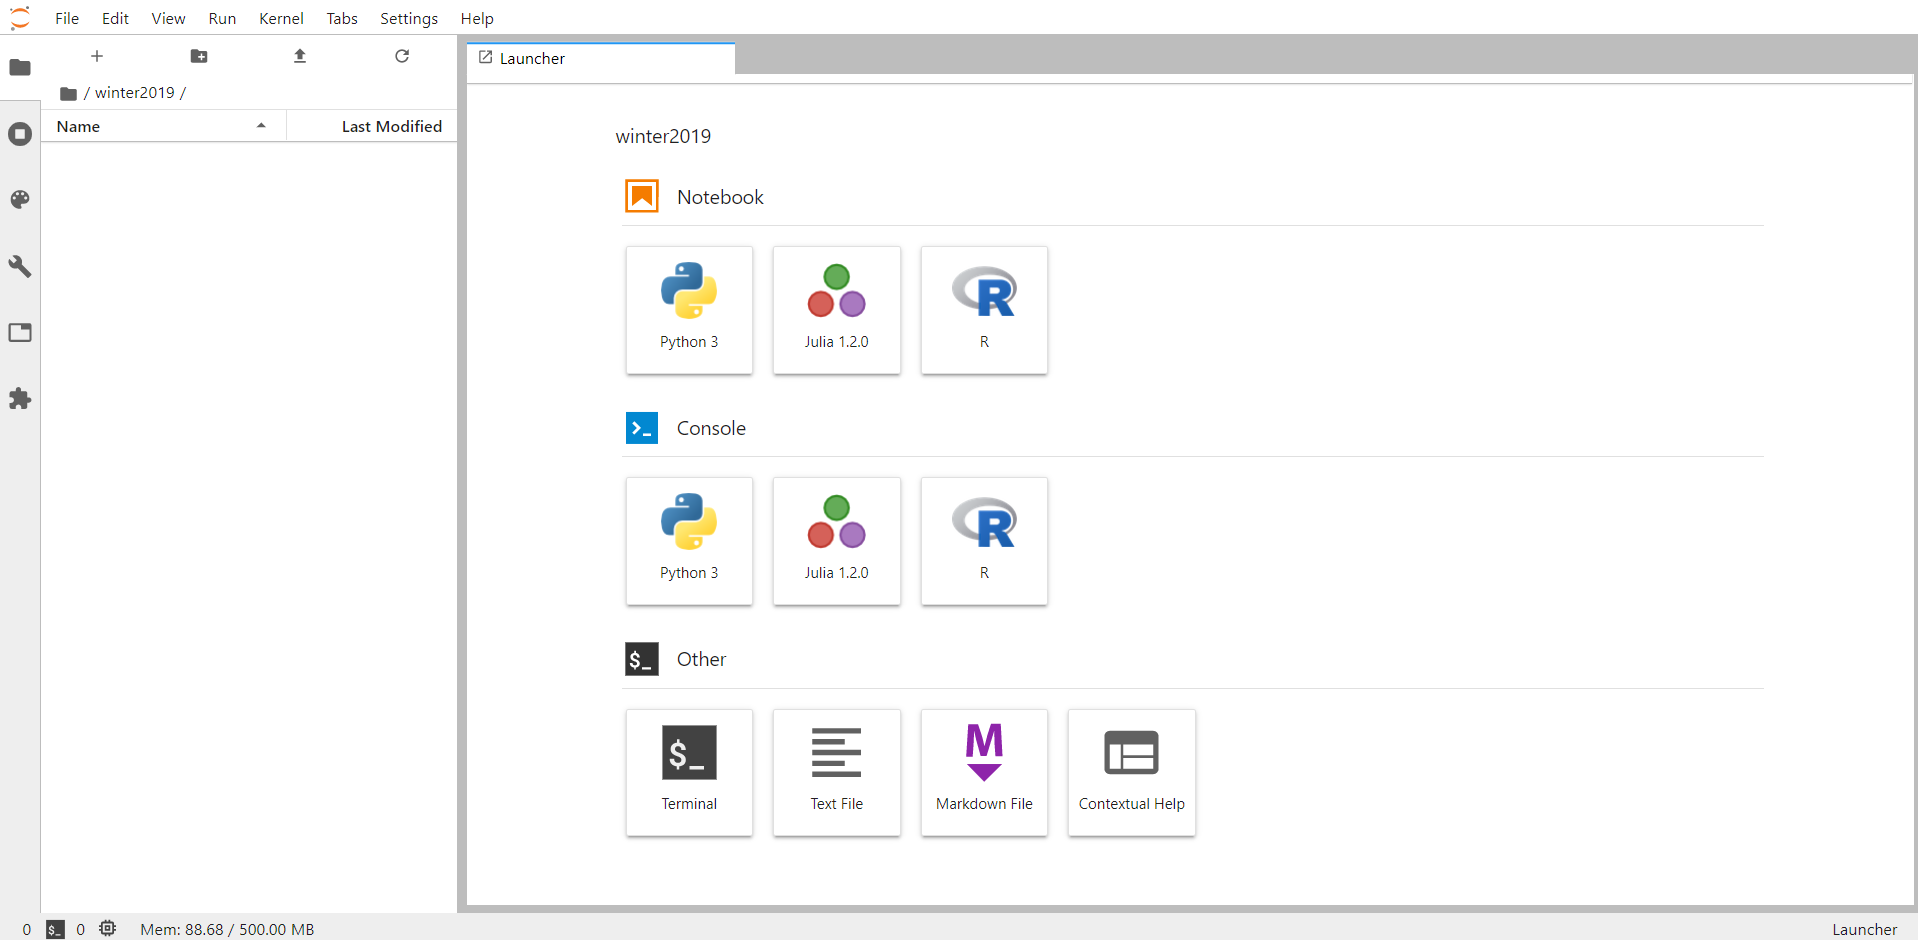
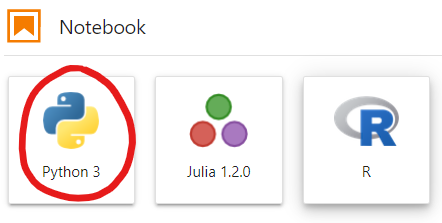
From here you can and select Python 3 from the Notebook section of the Launcher.
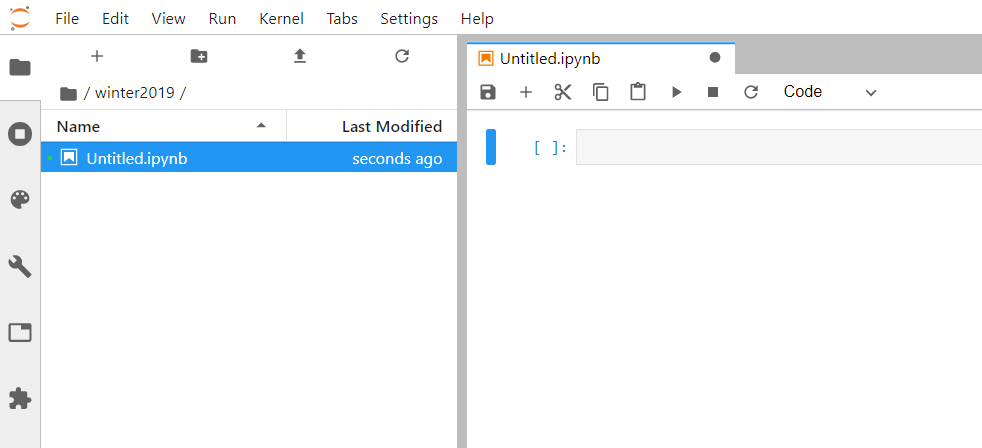
This will create a tab with a new Python Notebook file in the editor, named by default as Untitled.ipynb.
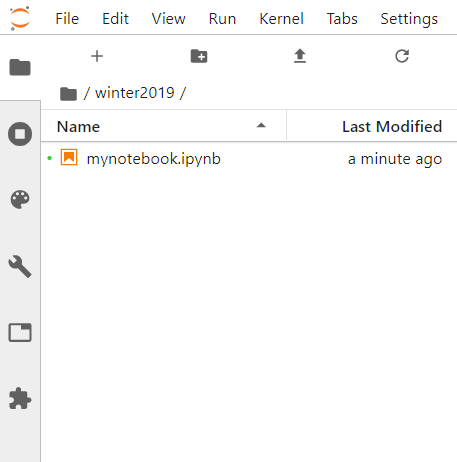
You can right click on the tab and rename your notebook to something more descriptive. For example, mynotebook.ipynb. Make sure you don’t accidentally delete the file extension .ipynb. Datahub knows to open files that end with this extension as notebooks.
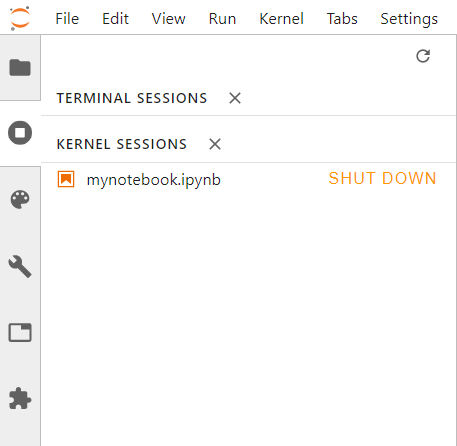
You’ll see the the notebook is also renamed in the pane on the left side of the screen. The green dot next to the file name indicates that this notebook is currently running.
A running notebook means it is connected to the server which will run any of the code it contains. Closing a tab does not shut down the notebook! In order to stop a notebook from running in the background, after closing the notebook’s tab you’ll need to click the icon of a square inside of a circle and then select shutdown for the notebook you were working on.
The NCSSM DataHub is configured to shutdown any notebooks that don’t have activity for awhile to save on processing time and memory. You may have to reconnect to the server, or kernel, if your open notebook sits idle too long.
You should NOT leave your Datahub account open in your browser for long periods of time (30 minutes or more) and then come back to work on it. Unlike a Google Doc, the notebook will not connect back to the server, and any work you do may be lost. It’s good practice to save all your notebook, shutdown their kernels, and then log out whenever you’re done working for awhile to avoid losing your work.
Working With the Notebook#
Every Jupyter Notebook consists of cells. The first empty cell is already available to you after creating the notebook. You can see by clicking into the cell that this cell is for writing code, as indicated by the drop down box in the menu bar. You can toggle the way a cell works by selecting: Code, Markdown, or one of the other listed choices. MA/CS 358: Cryptography will only use Code and Markdown type cells.
Code Cells#
A code cell is a place to write and run instructions written in the selected programming language, in this case Python 3. You can execute the code in a cell by either clicking the run button in the menu bar or by pressing shift + enter on your keyboard. Doing so will also advance you to the next cell, or if there isn’t a next cell, create a new empty cell. Pressing ctrl + enter will execute the code and keep the run cell selected. Any of these methods are fine, but you may find certain circumstances when you prefer one of the other. When code cells are run, they will be numbered in the order in which they ran. This will be helpful to keep track of when different instructions were run relative to each other.
Restarting the Kernel#
The Kernel is the core of the Datahub server that runs your Python code. Sometimes you’ll run instructions out of order which can cause some issues in your notebook and the kernel. To flush out any calculations and get a fresh start to your notebook, select the Kernel menu, and choose Restart Kernel and Clear All Outputs.... This will leave all the code you’ve written, but clear out the output from the cells as well as any variables currently stored behind the scenes in the notebook. If you ever get some strange error messages when working in your notebook, restarting the kernel and clearing the outputs is a great place to start.
Markdown Cells#
You can change the cell type from Code to Markdown to include explanatory text, tables, links, and/or images in your notebook.
Markdown is a lightweight markup language with plain text formatting syntax. Its design allows it to be converted to many output formats, including HTML within a Jupyter Notebook. This means that you can quickly mark a passage of text as a heading, subheading, link, or other content that your notebook will automatically know how to format.
For example, copy and paste this Markdown code into a cell and running it.:
# This is a Heading
## This is a subheading
*This text will be italics*
__This text will be bold__

* Bullet point 1
* Bullet point 2
You should see that your notebook was able to understand that the symbols #, ##, *, and __ have a special meaning when placed near or around text, and formatted the text accordingly.
For a cheat sheet on the Markdown syntax, use this resource (adam-p/markdown-here) for many common formatting choices.
Exporting Your Notebook#
Occasionally you may want to share the work you’ve completed in your notebook with other people. However, not everyone can run Jupyter Notebooks easily. Choosing the File -> Export Notebook as choice from the menu bar brings up a variety of choices to save and share your work in. Some common options are detailed below:
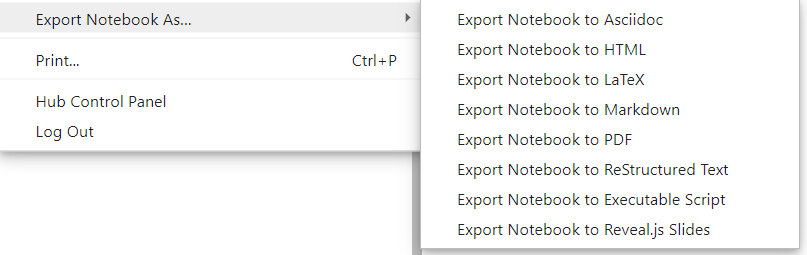
Notebook (.ipynb): This option will allow someone else to open your notebook in Jupyter and edit/run your cells on their own.
Executable Script (.py): This option will remove your markdown cells and put all the code cells into a single file that can be run all at once. This option is for cases when you just want to run the code and don’t need the added context of your Markdown cells.
HTML (.html): This option will convert your notebook into a static HTML webpage that preserves all your cells and their outputs, but will not allow the viewer to edit or run the cells. This is best for when you only want to provide a view only option.
Markdown (.md): Same as HTML, but all cells are in the Markdown format.
PDF (.pdf): Same as HTML, but in a PDF format.
Latex (.tex): Same as HTML, but in a LaTeX format.
When You’re Done#
When you are done using a notebook, it’s good practice to close the tab that it’s in, shutdown the notebook from your directory view, and then log out from the DataHub. This will free up any resources currently allocated to you for others to use. The good news is that even if you forget, the DataHub will shutdown your notebooks and log you out automatically if too much time passes without any activity. Any notebooks that were running when it logged you out will restart upon logging back in.